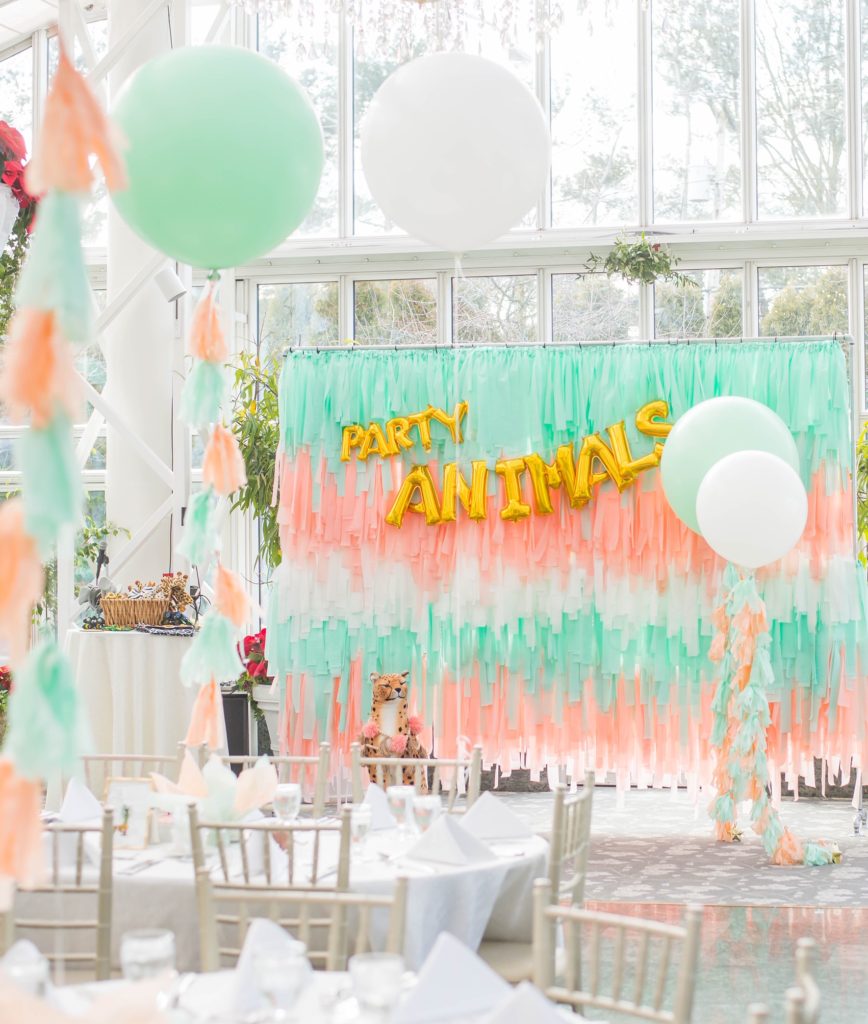
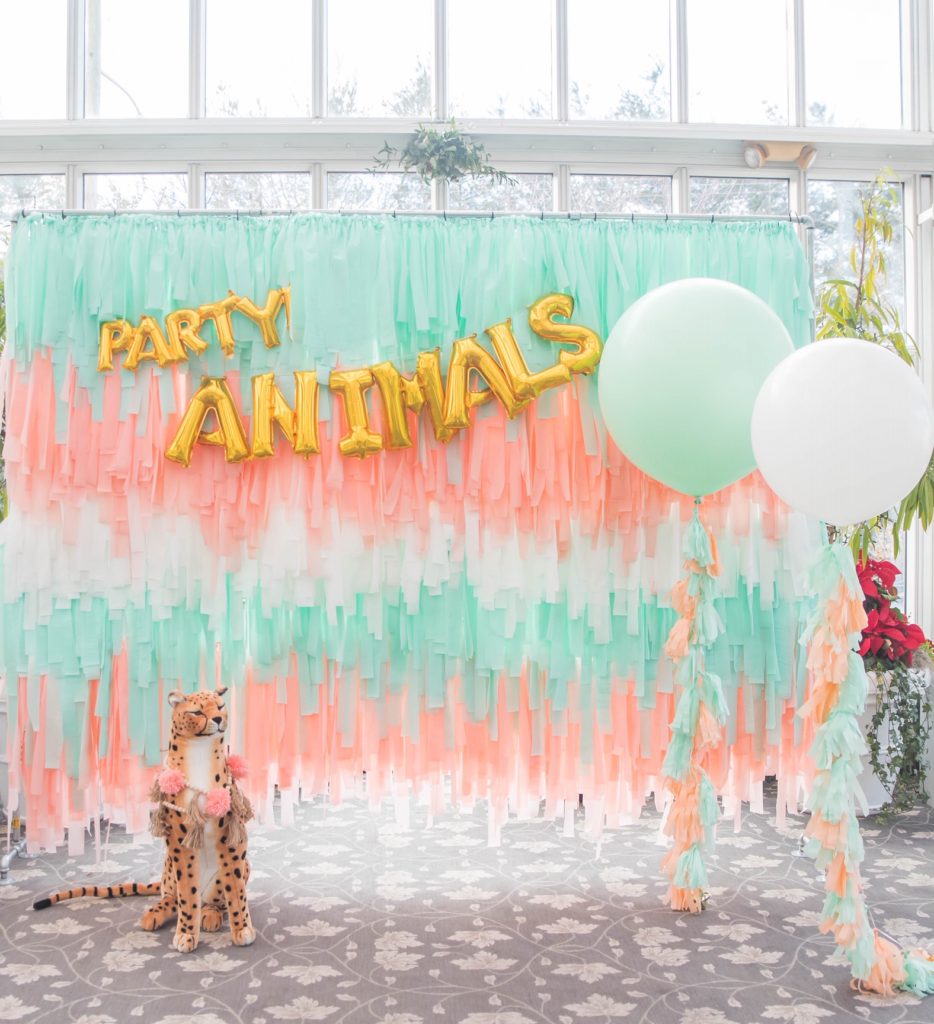
Are you looking to take your party to the next level? A fringe backdrop is the best way to add that special detail you were missing. The best part… its all done in just a few easy steps.
Whether you are looking to create a full wall for a festive photo area or just a small section for a dessert table, it’s a great way to decorate and make your party a little extra!
This DIY project is inexpensive and not too difficult to create. Yes, it is VERY time consuming and will take a lot of patience, but will a little prep and a few extra hands I promise this very customizable piece will be the hit of your event!

Ok now let’s get to the good stuff 😊
What You Need
A large Work Space
Scissors
Measuring tape


What You Do
1. Coordinate what color plastic tablecloths you would like to use. In my experience, selecting at least three different colors creates depth and a fun festive look.
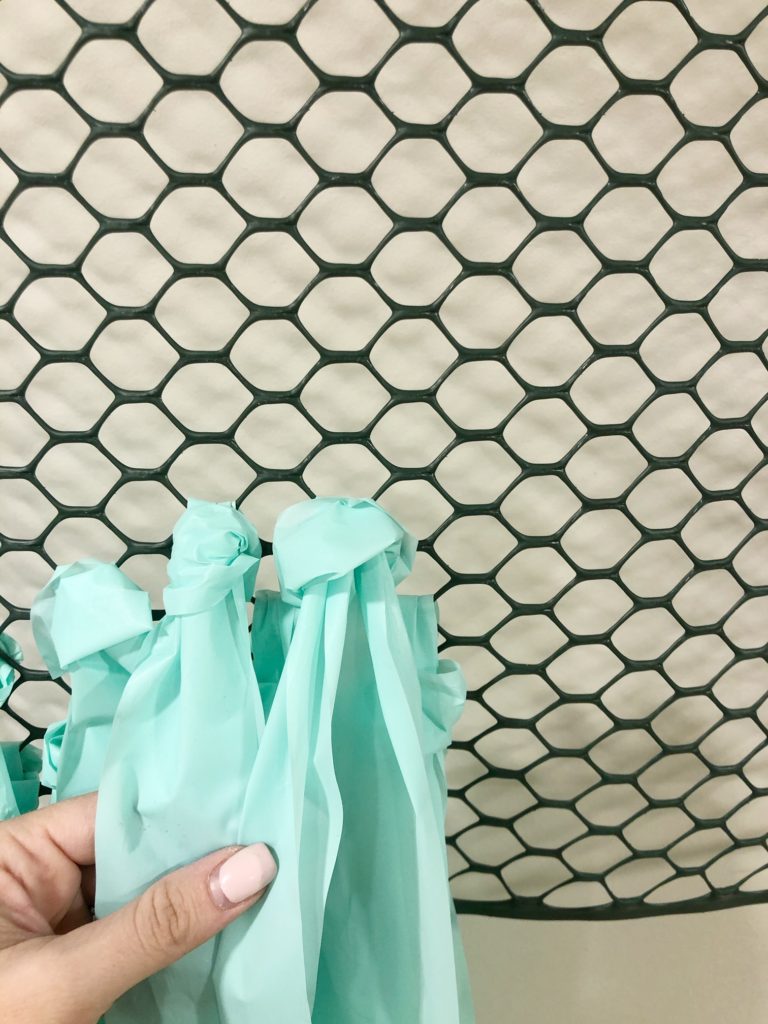
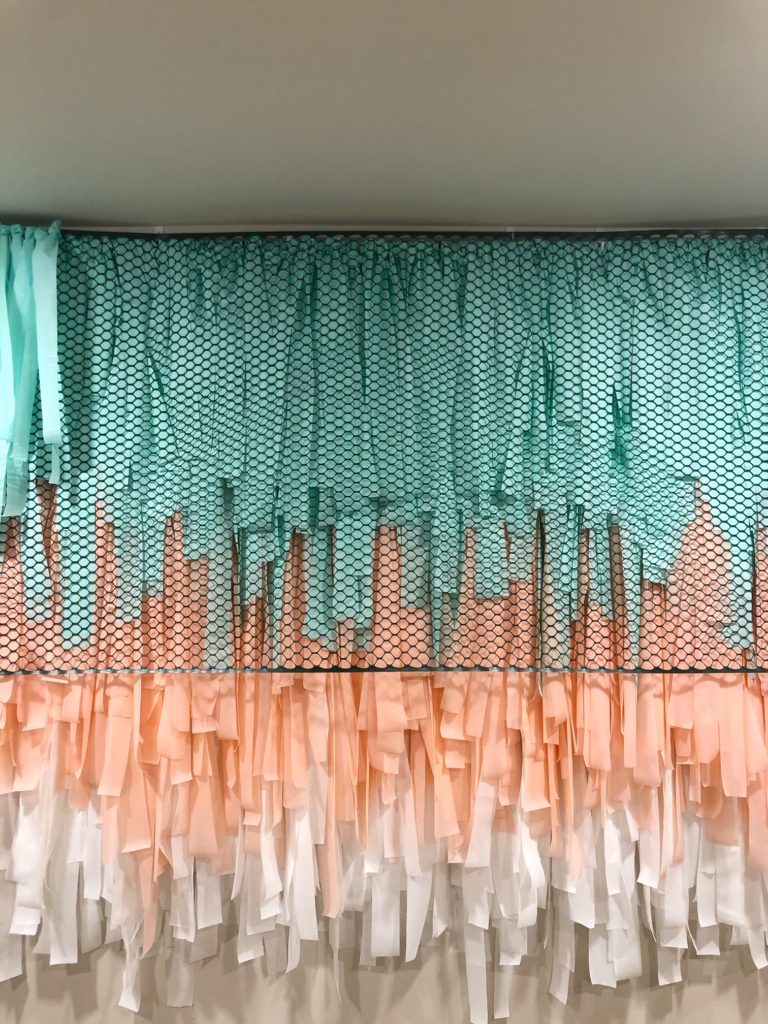
2. Purchase plastic fencing. The plastic fencing is going to be used as the main structure of the backdrop. I found mine at my local Loews and selected a roll that was 48” high.
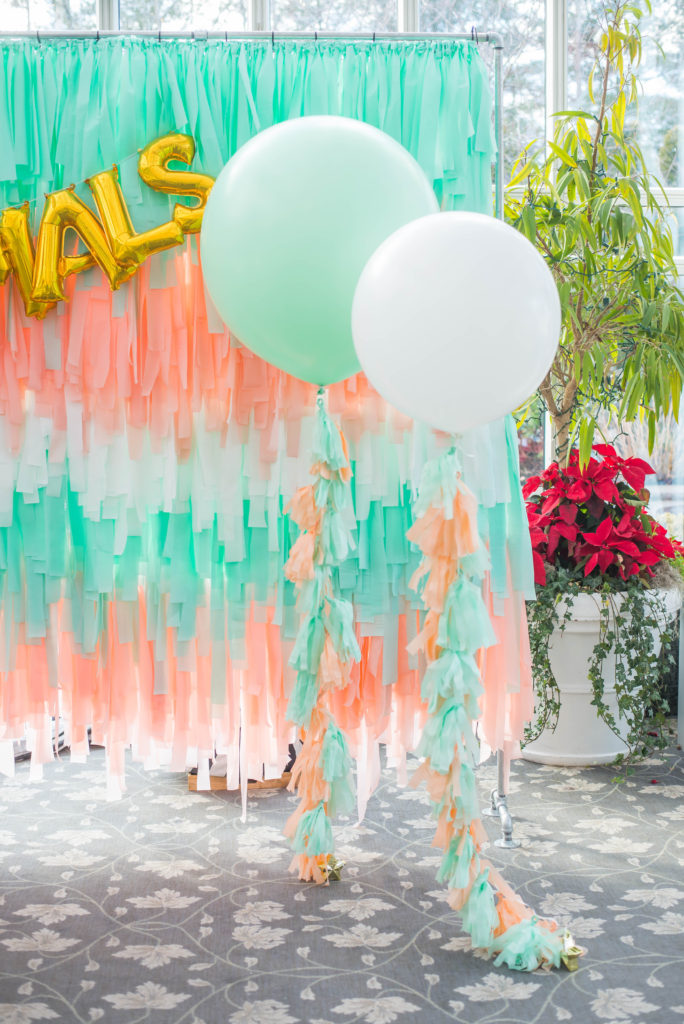
3. Measure how large you would like the backdrop. I created an 8’x10’ backdrop for Kai’s party using two of the 48” pieces at 10’ long stacked on top of one another. Leave some extra material on each end so you can adjust if needed.
4. Plan out your work space. I hung 3M Command hooks on large wall to anchor my working space and hung the plastic fencing along the wall. You can also lay the fencing out on the floor, but found it to be difficult to access the back end.
5. Begin cutting plastic tablecloths into various sized strips. I like working with three different sizes and alternating throughout the project. Start with long pieces (6’ long), medium pieces (4’ long) and shorter pieces (2’ long). They should be about 2” wide.
6. Once you have all your strips cut from the larger rolls, you can start creating the fringe wall.
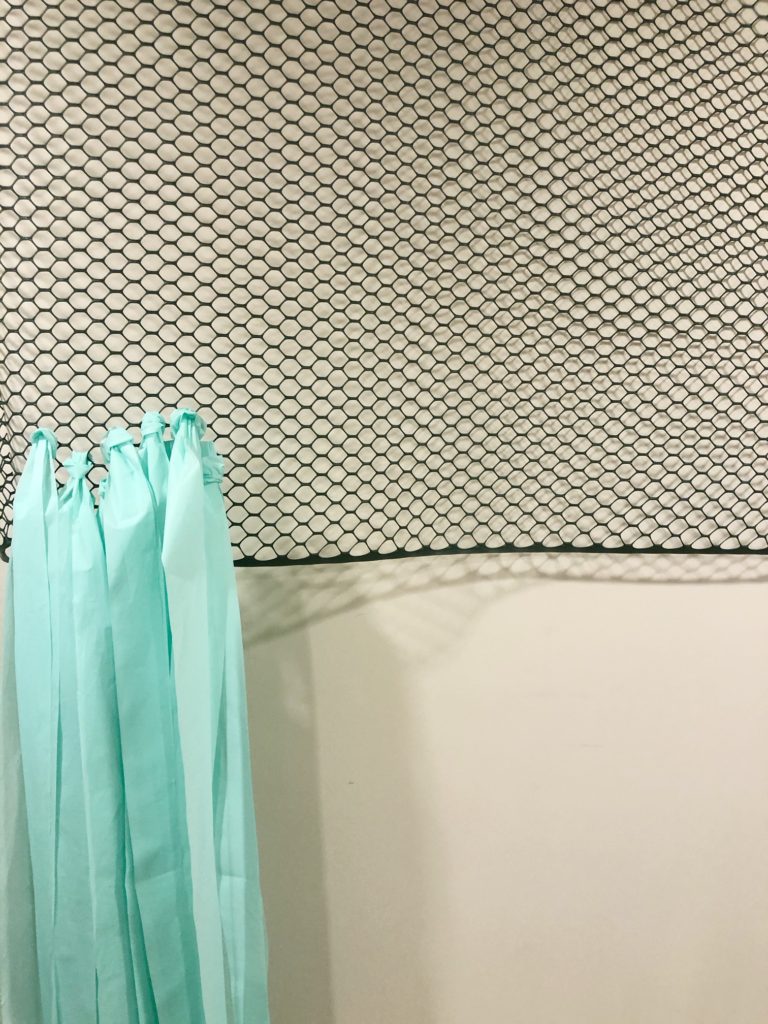
7. Fold one of the strips in half and start threading through a hole at the top perimeter of the fence. Make sure the loop remains and take the other end of the same strip to loop through. This should create a single knot through one opening of the fence.
8. Cover the entire top portion to be sure you are covering the fencing with the plastic strips. This will be the main portion of the backdrop and need to cover all plastic ends.
9. Once the top portion is covered for your desired length, start filling in the spaces below. Use a variation of sizes to get a fringe look. I worked from the top down and filled in the voids as I went along. You can make it as thick as you would like or just do the one layer. It’s completely up to you.
10. Be sure to change colors of the plastic strips as you go along.
11. Spread out the strips as you see necessary. There is no set pattern I have used when creating these and feel as though each and every one is different. Just color up and gaps of material and the more material the better!
12. Once you feel the entire fencing is covered and the backdrop is as thick and long as you would like, cut off excess fencing.
13. Trim the strips if you feel like you need more dimension.
14. Hang the finished backdrop with 3M wall hooks, thumb tacks or secure to a backdrop stand. The overall product should only be a few pounds and easy to hang on any wall.

Hope this helps to make your next event a festive one!
Would love to see your finished projects! Send along to [email protected]
-OX Dani


Great content! Super high-quality! Keep it up! 🙂